Version 4.0 disponible en libre service

Voilà la version 4.0 est là

Celle-ci est disponible:

  • pour un micro ordinateur Raspberry Pi
  • comme machine virtuelle sous VirtualBox
  • comme machine virtuelle sous ProxMox (nouveauté)

Les nouveautés marquantes sont:

  • Possibilité de mettre à jour le logiciel à distance et à la demande, voir cet article
  • Possibilité de gérer 16 batteries Pylontech
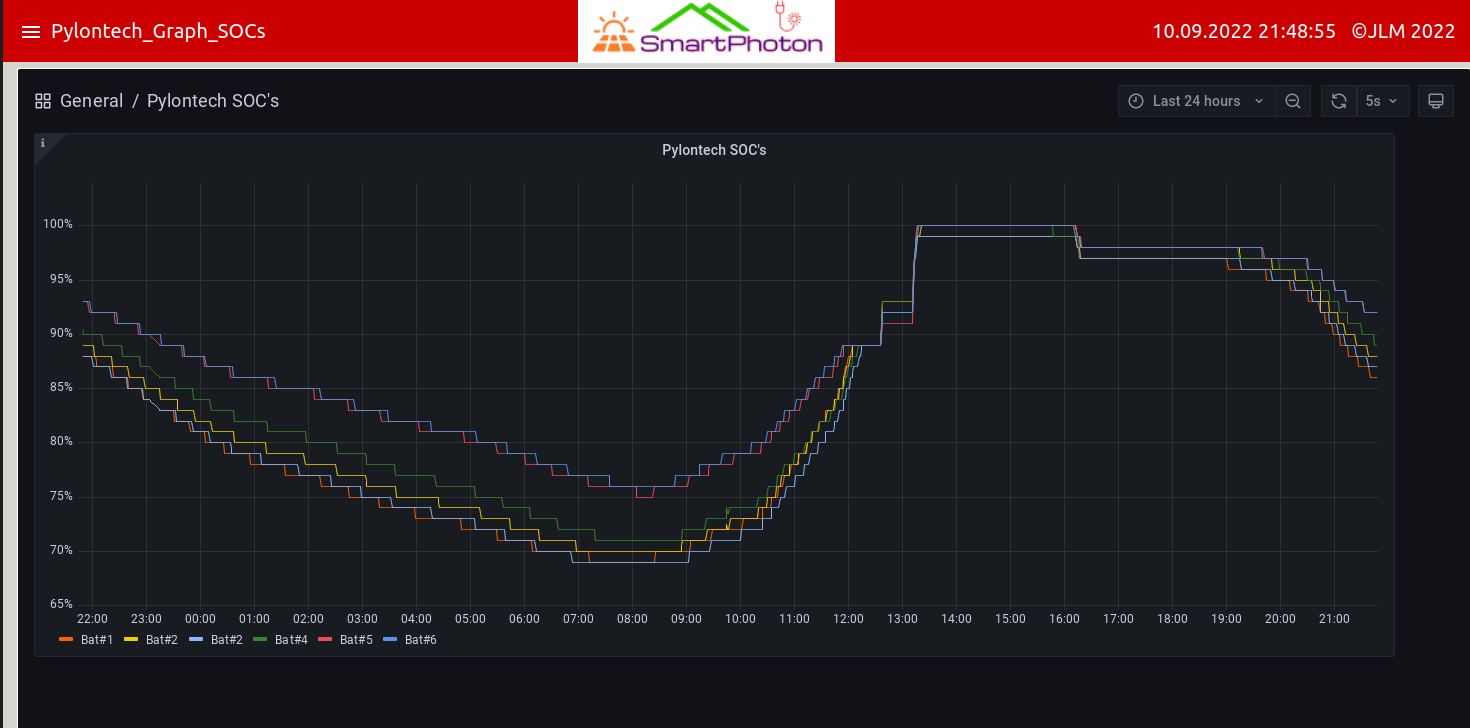
  • Graphiques professionnels concernant vos Pylontech
  • Possibilité de communiquer avec son onduleur via Ethernet filaire ou Wifi via un adaptateur Elfin. voir le sujet sur le forum
  • Connexion chez Enedis pour récupérer ses données Linky. Voir le sujet sur le forum
  • Refonte complète du menu « system », maintenant il est possible d’avoir 2x le même câble série et l’assigner à l’onduleur et à la(les) batterie(s) Pylontech. Voir cet article
  • Un menu ‘Debug’ qui permet de vérifier diverses fonctions
⚠️ Pensez à faire une sauvegarde de votre base de données pour pouvoir la restaurer après la nouvelle version. Il est bien de faire l’installation sur une nouvelle carte SD ou SSD disque au cas ou il y aurait des soucis.

😇 P.S:  Si vous êtes satisfait de ce logiciel, pensez à faire un don (pour ceux pour qui cela n’est pas fait !)

J’en ai par exemple besoin vis-a-vis de mon hébergeur qui suis l’augmentation de l’énergie. Cela me permet d’acheter et expérimenter d’autres matériels et solutions.

Merci à tous 🙏

Florilège de captures écrans et animations:


The Smartphoton remote update has arrived

Here is a big breakthrough!

The possibility to update Smartphoton remotely when there is a new version available Idea

The steps it will perform:

1) The software checks on my website if there is a new version
2) It downloads it and checks that the files are in good condition
3) It makes a backup of the current version (for a future restoration in case)
4) Then it puts in place the new features and proposes to restart

In the example below, here is an animation that shows how this happens.

We start from version 3.5 (green background color) and we will end up with version 4.0 (the background color is red)

I think that it will be useful. At least I hope so   Angel

Lire et écrire dans un port série RS232 via Nodered

I put on Youtube a video that explains in detail how to connect to the serial port of Pylontech batteries. But my explanations can be applied to any serial port.

I use Nodered which is a « home automation » tool that allows you to build your own software in the form of web pages. So everything is accessible via a browser.

So for those who want to understand how I was able to dialogue with the Pylontech inverter and batteries, here is the explanation in detail.

Yes sorry, 20 minutes to view 😇 Courage 😉

[yotuwp type= »videos » id= »DhYyicJD-Fo » ]

Version V3.3 est désormais disponible

Voilà, la nouvelle version V3.3 est désormais disponible 😁

Pour l’obtenir,si vous êtes déjà un utilisateur, il faut juste que vous soyez membre du forum.  Ensuite vous m’envoyer une demande de lien via ma messagerie interne (MP) et elle sera à votre disposition.

En tant que futur nouvel utilisateur, veuillez d’abord passer par le formulaire de contact  s.v.p (soyez patients dans mes réponses, je suis assez occupé ces derniers temps)

Voici les nouveautés:

  • Connexion aux batteries Pylontech. Un automatisme est disponible pour régler l’onduleur en fonction de l’état réel des batteries (SOC) et non pas comme il essaye de le faire « mal » en mode natif sans rien pouvoir dialoguer avec elles.

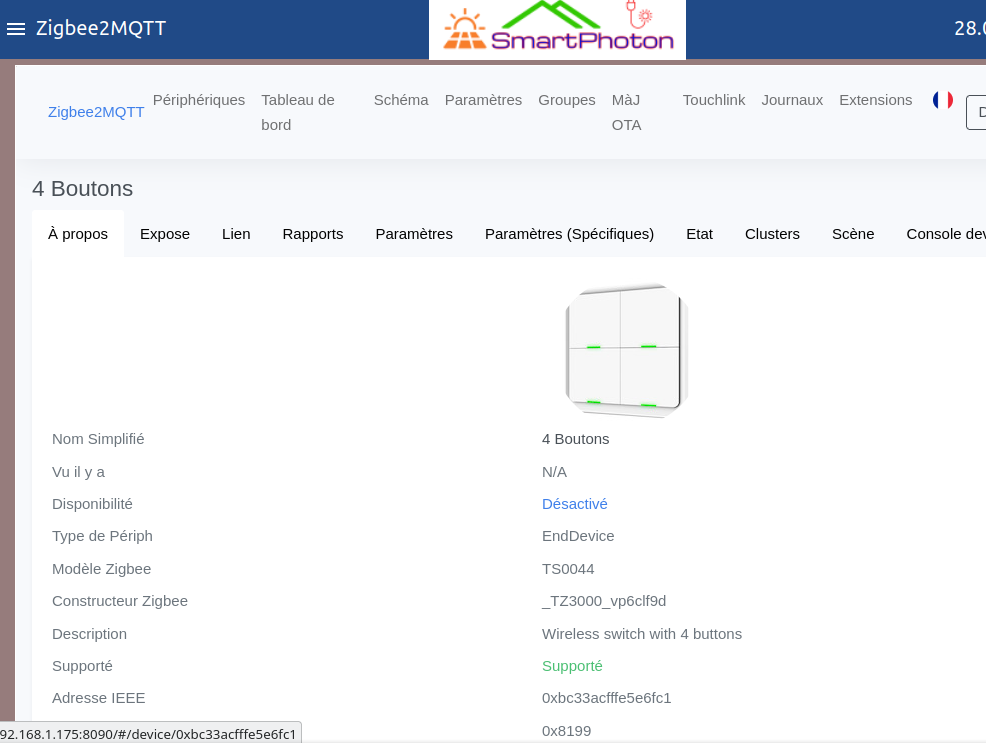
  • Intégration d’une passerelle Zigbee, celle-ci permet par exemple de commander le paramètre 01 avec un interrupteur 4 canaux.


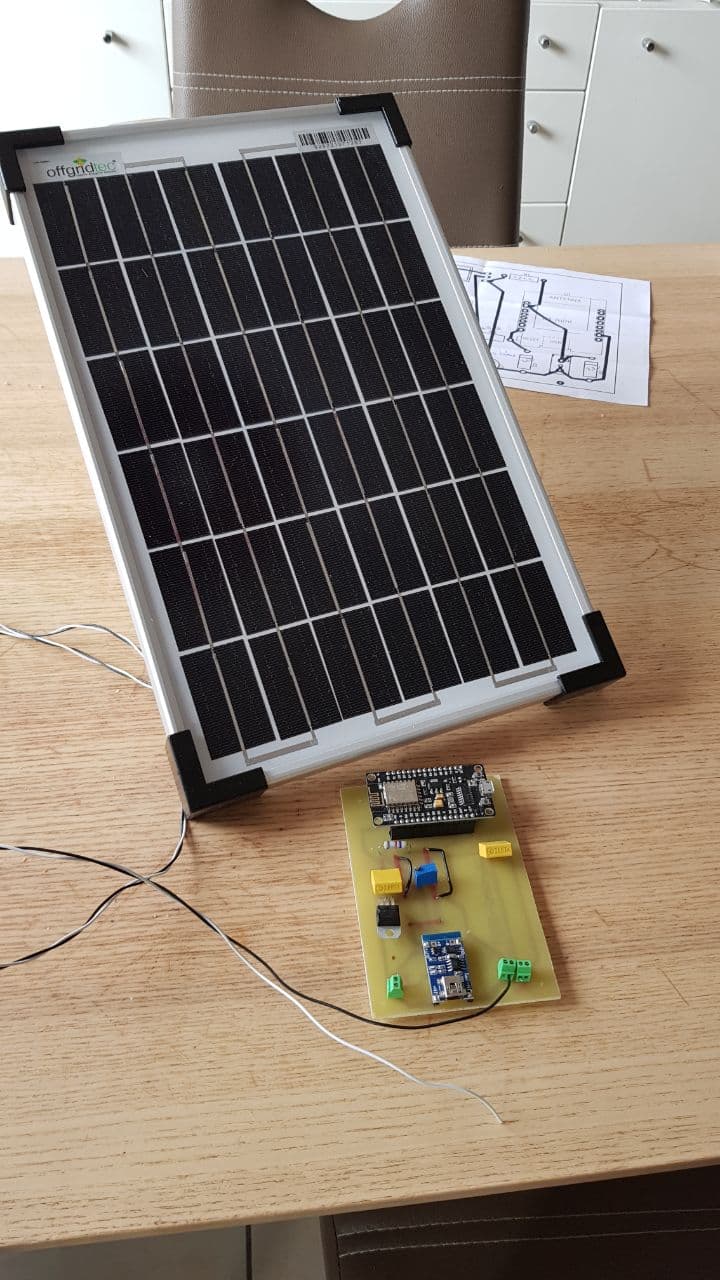
  • Possibilité de déterminer la production potentielle de nos hybrides, pour cela voir avec Michel sur le forum. Il s’agit d’un petit panneau solaire qui débite dans une résistance et où l’on on vient prendre la tension aux bornes. Ce qui donne une bonne information sur l’ensoleillement actuel et la production potentielle

  • Connexion sur un onduleur Growatt qui lui ne parle pas comme nos hybrides, il utilise le Modbus et sait gérer nativement les batteries Pylontech

  • Intégration d’un serveur FTP pour sauvegarder la base de donnée de manière simple (oui je n’en ai pas encore parlé 😉)

  • Ajout d’un diagramme qui permet d’un seul coup d’œil de voir si on est en mode autonome ou EDF dans les dernières heures

  • Visualisation des kWh produits et consommés
  • La météo qui a été remaniée (pour le mieux j’espère)

  • Ajout d’une partie système et « Débogage » pour assistance et analyse
  • Ajout de Topic MQTT pour une gestion externe et remontée d’informations dans votre domotique Jeedom, Home Assitant, Domoticz, Nodered, etc…

  • De nouveaux graphiques
  • Possibilités d’exporter les données de la base de données vers Excel pour analyse fine selon vos désires

Pour information, la version virtualisée n’est pas encore prête. Encore 2-3 semaines de patience.

⚠️ Pensez à faire une sauvegarde de votre base de données pour pouvoir la restaurer après la nouvelle version. Il est bien de faire l’installation sur une nouvelle carte SD ou SSD disque au cas ou il y aurait des soucis.

😇 P.S:  Si vous en êtes satisfait, pensez à faire un don  pour ceux pour qui cela n’est pas fait ! J’en ai besoin vis-a-vis de mon hébergeur qui veut absolument m’augmenter mon forfait. Pouvoir acheter et expérimenter d’autres matériels et solutions. Mille merci à tous 🙏


Nouvelle vidéo de présentation de Smartphoton

It’s about time! 😱

The last video is one year old. It has 3500 views on Youtube. To manage a low cost inverter, it seems to me that it is a nice surprise.

But there were so many new features that I had to make a new one. Here it is below, fresh from the oven.

What’s new?

I can’t even remember what they are anymore.

In no particular order:


  • Project to determine the potential production with Michel. The small solar panel which debits in a resistance and of which one comes to take the tension at the terminals. This gives a good information on the sunshine.
  • Connection to a Growatt inverter which does not talk like our hybrids, it uses Modbus and can natively manage Pylontech batteries
  • Connection to Pylontech batteries. It is now necessary to make an automatism to adjust the inverter according to the real state of the batteries and not as it tries to do it « badly » in native mode
  • Integration of a Zigbee gateway, this one allows for example to control the parameter 01 with a 4 channels switch.
  • Integration of an FTP server to save the database in a simple way (yes I haven’t talked about it yet 😉)
  • Addition of a diagram that allows you to see at a glance if you are in autonomous or EDF mode in the last few hours
  • Visualization of the kWh produced and consumed
  • The weather that has been redesigned (hopefully for the better)
  • Addition of a system part and « Debugging » for assistance and analysis
  • I’ll stop here, it’s exhausting 🤪

Here is the new video:

https://youtu.be/9hFrnaQQHg4

Batteries Pylontech and smartphoton

I bought 2 Pylontech batteries to replace my lead acid battery pack that was failing.

It’s night and day in terms of discharge capacity and durability.

My inverter doesn’t know these batteries, it doesn’t have an intelligent link with them to be able to discuss their state and thus manage them as well as possible like other inverters a little more expensive do.

So, I tried to do it, I connected the serial output « Console » to a USB port of my Pi.


I had to build a cable and learn to talk to the Pylontech BMS (Battery Management System). This is now done.

I will now study the behavior of my inverter-battery pair to see how to dynamically adapt the parameters of the inverter according to the values of the batteries.

In particular the SOC (State Of Charge) indicator of the batteries. This tells us what is the real remaining capacity in the batteries and not an estimate.

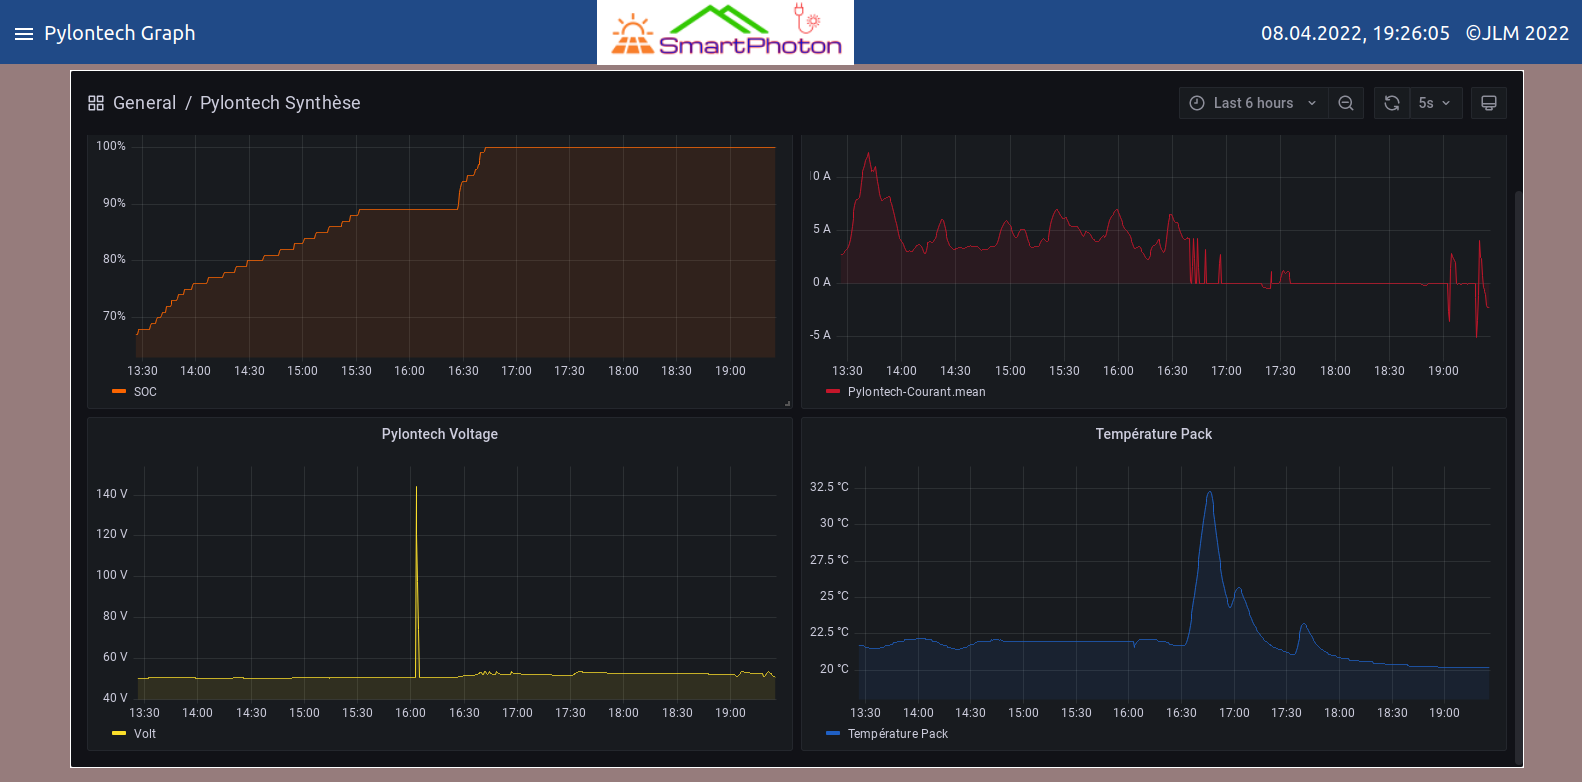
So I could play on the parameters 01 – 12 – 13 – 27 – 29 in an automatic way and I wish it the most efficient. Here is a graph that now allows us to understand how these batteries behave:

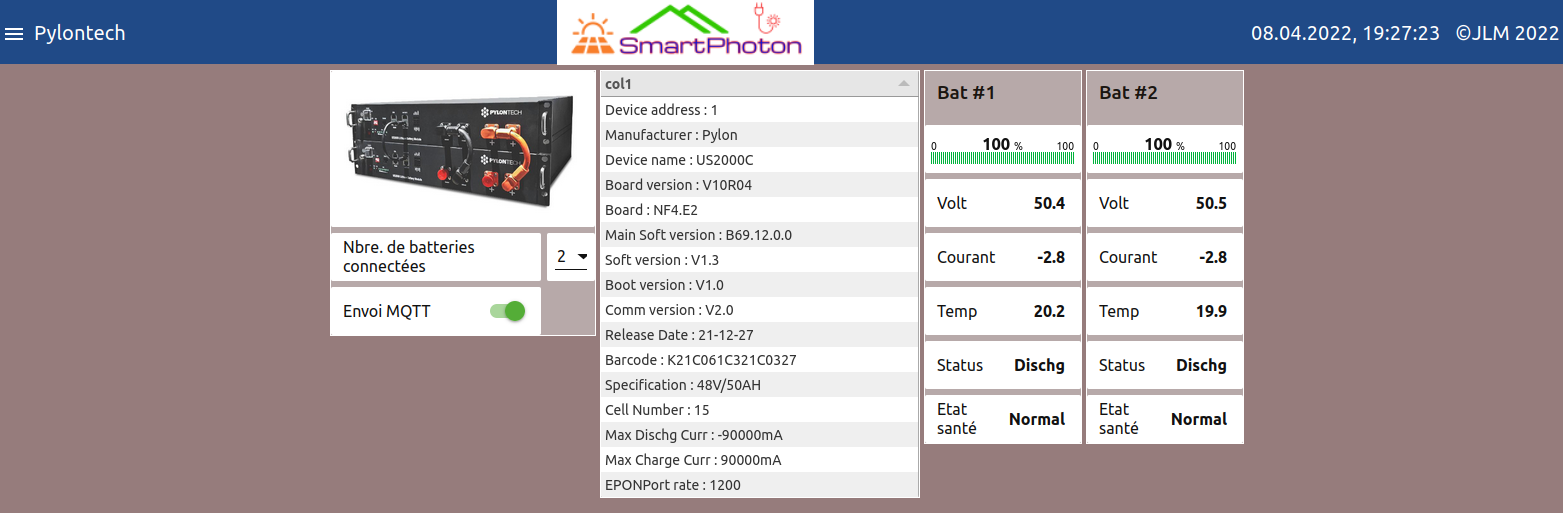
And here is the information and battery management page.

In addition, all important data is accessible from outside the software via an MQTT broker for integration into existing home automation systems.

Just go to the forum to see the whole process and find more details and information!

And also you can see my video here

[yotuwp type= »videos » id= »I_I5dX695J0″ ]

Don Paypal

Paypal donation. 


I want to remind you that if you like my software, there is a way to make a donation via the Paypal button.

This will encourage me in this way that I set myself. Share as much as possible.

I’ve received 3 donations so far, and I must say I really appreciated it!

Appreciated the fact that you are happy with my work and the usefulness of this software.

It allows me to test new material, to mark a little the work done, but also to pay the website and the related costs.

I invest a lot of energy and time on this project. Thank you for appreciating my work.

Regards to all


Zigbee integrated in smartphoton version 3

Here we are, version 3 is coming.

The main new feature is:

To be able to remotely control via a 4 way switch the parameter 01.

Namely to switch it to UTI / SOL / SBU mode

For this I integrated a Zigbee gateway in smartphoton.
Yes, that’s it, the home automation naturally integrates the inverter management software. It is an obvious marriage.

Jean was the first to test this solution, he often asked me for this feature. I hope he will be happy with it.

You can watch below this article which demonstrates the usefulness of this feature

Demo modification of parameters via 4-way wireless switchDémo modification de paramètres via interrupteur sans fil 4 voies

I used the wonderful software of zigbee2MQTT. Thanks to them for providing us with this kind of software!

In concrete terms, this is what will be required:

• 1 Zigbee switch of this type

• A Zigbee gateway to plug into the Raspberry

And that’s it!

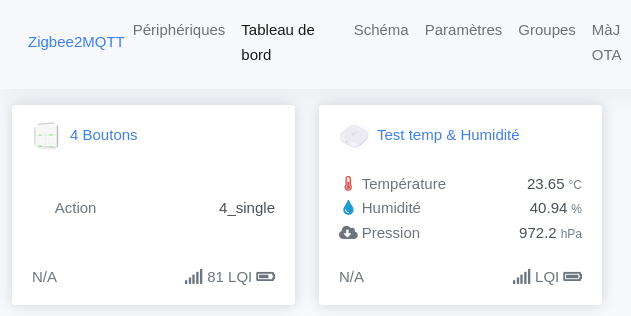
In the software you can start and manage your Zigbee network via a dedicated page

A new video online!

A new video online! ! 📹

I decided to start explaining how to use Nodered to do home automation. This one deals with a relatively simple topic like gradually turning on/off an LED 💡

I’ve had quite a few requests along these lines, how do you do this or that?

So I’m taking the plunge by making this 1st video with a more polished presentation this time. But still artisanal, because it is my trademark.

You’ll see that I’m far from inverters on this one, but, it’s thanks to this kind of exercises that I was able to make the smartphoton software that you know now to use it at home.

Don’t hesitate to give me feedback if you like it or not in the comments below and/or on the Youtube page

[yotuwp type= »playlist » id= »PLJdQN_TTVjJ18jBjd4X6wczOa4UJSyKSq » ]

Accès depuis extérieur à sa maison

Je reçois assez souvent cette question:

Comment faire pour accéder à son tableau de bord onduleur depuis n’importe à l’extérieur de son réseau local (maison) ?

C’est une vaste question. Ça va beaucoup dépendre de vos compétences en informatique / réseaux

Pour ma part Il y a plusieurs pistes:

  1. La plus simple:         Aller dans son router ou sa box internet et créer des règles NAT. C’est à dire que l’on va faire une règle qui dit. Si accès depuis extérieur sur le port 1880, transfert les données vers l’intérieur sur l’adresse IP de smartphoton avec le port 1880. Inconvénient: Ce n’est absolument pas sécurisé, chacun qui connaît votre adresse externe va pouvoir voir vos données de votre onduleur
  2. Installer un reverse proxy externe (ex: Nginx):        c’est un peu ce qui est fait en 1. Sauf que l’ont peux ajouter un accès encrypté avec un ou plusieurs codes d’accès en plus. Compliqué mais très efficace !
  3. VPN:         Mettre en place un serveur VPN sur ton réseau et passer par lui pour ensuite joindre ton Pi. C’est l’une des solutions les plus efficace et sécurisée
  4. Zerotier      Smartphoton a déjà tout le logiciel installé, il suffit de créer un réseau zerotier pour soi-même et enregistrer vos machines que vous souhaitez joindre à celui-ci depuis l’extérieur, et hop on a un accès direct sans rien toucher à sa box ni son router. Top !
  5. Teamviewer, anydesk ou autres identiques
  6. Autres ?!

Ce que je préfère dans ce cas précis ?

La 3. et la 4.  Je pense que pour une personne sans trop de connaissances réseaux, la 4. est vraiment top. C’est par exemple possible pour moi de me connecter à votre pi si vous entrez le numéro de réseau que je pourrais vous donner à la demande. Il faut aussi que vous activiez cette fonction.

La 3 est bien plus technique mais offre plus de fonctionnalités tiers pour d’autres objectifs. J’utilise pour ma part.

Voilà pour mes connaissances. Il doit certainement et évidemment exister d’autres solutions que je ne connais pas.

N’hésitez pas en nous le présenter !